
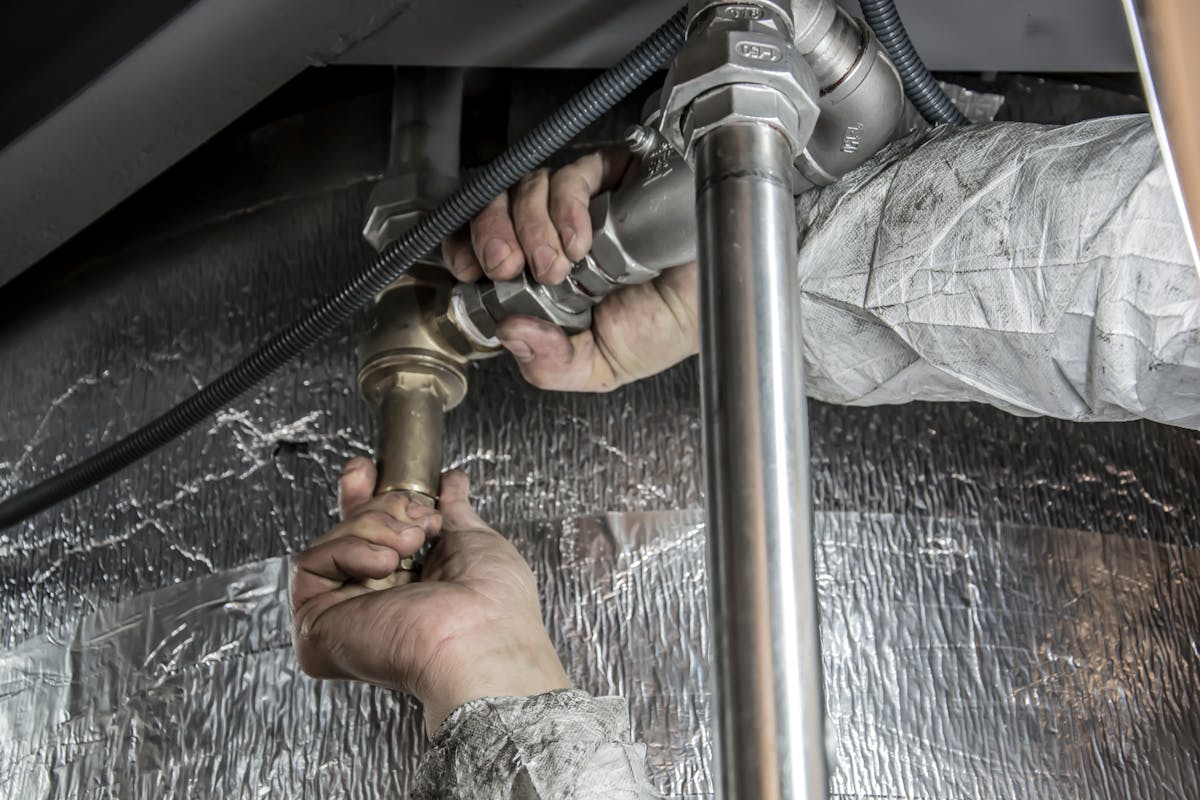
Spring is when many people reconnect the garden hose, and when an outdoor spigot leaking inside the wall finally shows itself. The spout may run almost normally while water spreads into the wall or basement ceiling. If your Riverton home has a finished basement behind that wall, the hidden leak can soak drywall and insulation before anyone notices.
How a Frost-Proof Sillcock Splits Inside the Wall
A frost-proof sillcock looks like an ordinary hose spigot, but a long tube runs behind the handle and through the wall. The valve that stops the water sits at the far end of that tube, inside the heated part of the house.
When you close the handle, the water left in the tube should drain out through the spout. That only works if the tube tilts slightly downward and nothing blocks the spout. Manufacturer installation instructions call for that downward pitch and a supply connection inside a heated space.
A hose left attached over winter blocks that drain path, so water stays trapped in the tube and freezes on a cold night. Utah State University Extension explains that water expands as it freezes and can crack or split pipes. The split can land anywhere along the tube, including the section hidden inside the wall.
Why the Leak Stays Hidden Until Spring
The leak hides because the damaged section holds no pressure while the handle is closed. The valve seat at the inner end holds supply water back, so the split tube sits empty and the spigot looks fine from outside all winter.
The trouble starts the first time someone opens the handle. Water rushes past the valve seat into the split tube. Enough still reaches the spout that the hose seems to work. The rest sprays through the crack into the wall cavity or the basement ceiling.
Because an outdoor spigot leaking this way only leaks while the handle is open, a water meter test with everything off will not catch it. A meter that moves with every fixture closed points to a different leak on a pressurized pipe. That one calls for professional leak detection.
What an Outdoor Spigot Leaking Inside the Wall Looks Like
Water from a split tube goes wherever gravity and the framing send it. After the first spring use, look for these signs:
- Wet basement ceiling: a damp or stained patch near the wall where the spigot sits.
- Water on the floor: a puddle along the foundation wall, sometimes several feet away.
- Damp drywall or insulation: a soft, cool spot on the wall below the spigot line.
- Weak flow: less water at the spout than you remember, since some escapes inside.
Not every outdoor spigot leaking is a split tube. A drip from behind the handle while the water runs usually points to the packing nut. On anti-siphon models, a short spit from the vacuum breaker cap at shutoff can be normal, and a few seconds of dripping from the spout after closing is just the tube draining.
How to Test the Spigot Safely
If you suspect an outdoor spigot leaking inside the wall, a quick test with a helper tells you most of what you need.
- Find the inside spot: locate where the spigot pipe runs inside, usually behind the same wall in the basement. Open an access panel or ceiling tile if there is one.
- Remove the hose: take off any hose, splitter or timer.
- Open the handle part way: have your helper watch and listen inside while you open the spigot about halfway.
- Watch for about a minute: hissing, spraying or new drips inside mean the tube is damaged, so close the handle right away.
- Check again later: if the ceiling is finished, feel the drywall below the spigot an hour later.
If water shows up inside, stop using the spigot, because the split will not seal itself.
A Riverton Scenario You Might Recognize
Picture a Riverton family whose hose stays on the back spigot all winter, still attached to a spray nozzle. On a mild March afternoon, they open the spigot to rinse the patio. Water comes out of the hose, but the pressure seems weak.
That evening, someone notices a brown ring on the basement ceiling near the back wall, and the carpet below it feels wet.
That pattern points to an outdoor spigot leaking inside the wall from a split tube. The likely story: the hose and nozzle trapped water in the sillcock, it froze on a cold night, and the tube cracked. The leak stayed silent until the handle opened. The next steps are to keep the handle closed, shut off the water feeding it, and start drying the ceiling.
Shutting Off the Water and Repairing the Damage
Close the spigot handle first. Then look for a shutoff valve on the pipe that feeds it, usually on the basement side of the wall. If there is no dedicated valve for outdoor faucets, close the main shutoff until the repair is made. USU Extension recommends that adults and older children know where the main shutoff is.
A split sillcock tube cannot be patched. The usual repair is a new sillcock of the correct length, set with a slight downward pitch so it drains. If the ceiling is finished, the plumber may need a small opening to reach the connection.
If the freeze also damaged the supply pipe, that section needs the same care as any frozen or burst pipe repair. The EPA's guide to mold and moisture says to dry water-damaged areas within 24 to 48 hours to prevent mold growth.
Safety Notes
- Keep the handle closed: every use sends more water into the wall, so leave the spigot off until the repair is done.
- Turn old valves gently: a stiff shutoff can break at a corroded stem if you force it with a wrench.
- Keep a bucket and towels ready: a supply pipe can still hold water after the valve is closed.
- Step carefully: checking a basement ceiling often means standing on a step stool near a wet, slippery floor, so keep someone nearby.
- Do not cut drywall blindly: pipes and ductwork can share the same ceiling bay, so open only what you need.
- Dry wet materials quickly: move stored items away from the wet area and start fans the same day.
When to Call a Professional
Call when the test shows water inside, when you cannot find a shutoff that isolates the spigot, or when the wet area keeps spreading after the water is off. Call as well if a ceiling or wall stays damp and you cannot tell where the water got in.
An outdoor spigot leaking only from the packing nut is often a simple fix. A split tube, a leaking connection inside the wall or a frozen supply pipe is a bigger job. Towers Plumbing can trace the water, confirm whether the sillcock or the supply line failed, and replace what is damaged. It also makes sense to test every other outdoor faucet on the house, since each one faced the same winter.
Frequently Asked Questions
Why is my outdoor spigot leaking into the basement but working outside?
A frost-proof sillcock closes at its inner end, so the split tube held no pressure all winter. Once the handle opens, some water reaches the spout and the rest escapes through the crack inside the wall.
Do I need to remove the hose from a frost-proof spigot?
Yes. The maker of one common model says its faucet will not burst if it is installed correctly and the hose is detached in freezing conditions.
Is it safe to use the outdoor spigot in March?
Usually, once it passes the test above. Early spring in northern Utah can still bring freezing nights, so detach the hose after each use until the cold snaps are over.
Test Now, Then Disconnect Every Fall
Before you reach out, run the helper test and write down what you saw. Note which spigot leaked, where water appeared inside, and whether a hose stayed attached over winter. Take photos of any ceiling stains or wet drywall.
Then make hose removal part of every fall routine. The American Red Cross recommends removing, draining and storing outdoor hoses, closing inside valves that feed hose bibs, and opening the outside bibs so they drain. Take off splitters and timers as well.
Towers Plumbing serves homes across Riverton and nearby communities. If your test turned up an outdoor spigot leaking indoors, send your notes and photos through our contact page. A technician can go straight to the spigot, confirm the damage and explain the repair before work begins.